From the doorway, bathtub refinishing looks simple: a technician cleans the tub, sprays on a new finish, and leaves. What actually happens is more involved, and the parts you cannot see- the preparation especially- are what separate a finish that lasts from one that peels within a year. This guide walks through the professional process step by step and explains why each stage matters, so you know what good work looks like and what corners a rushed job tends to cut. If you want the broader background on refinishing first, our complete guide to bathtub refinishing in North Carolina covers the fundamentals; here the focus is the process itself.
A note before the steps. Refinishers do not all use identical products or methods. The sequence below reflects common professional practice, and where a detail depends on the specific coating system or company, this guide says so rather than pretending there is one universal recipe.
Step 1: Inspection and Assessment
Everything starts with a close look at the tub, and this step decides whether the rest should happen at all. A good technician checks the surface for chips, cracks, rust, stains, and any signs of a previous coating, and looks for the difference between cosmetic wear and structural trouble.
That distinction matters because refinishing fixes surfaces, not structure. A dull, stained, or lightly chipped tub is a strong candidate. A tub with a crack that flexes, rust that has gone through the material, or a fiberglass floor that gives underfoot has a problem a coating cannot solve, and coating over it just hides the issue until it fails. A refinisher worth hiring will tell you when your tub is not a good candidate rather than take the job anyway.
Identifying the tub material is part of this step too, because the material changes how the surface has to be prepared. Porcelain over steel, cast iron, fiberglass, and acrylic each behave differently under preparation and coating.
Step 2: Cleaning and Degreasing
Before anything touches the surface for prep, the tub gets a thorough cleaning to remove soap film, body oils, mineral buildup, and cleaning-product residue. This is not the light wipe-down you would do before guests come over. It is a deliberate degreasing, because any contaminant left on the surface becomes a weak spot where the new coating cannot grip.
This is one of the quiet reasons refinished tubs fail. If oils or residue are left behind, the coating can bond to the grime instead of the tub, and grime does not hold. Proper cleaning is unglamorous and easy to shortcut, which is exactly why it belongs near the top of the list.
Step 3: Repairing Chips, Cracks, and Surface Damage
With the surface clean, the technician repairs the damage found during inspection. Chips are filled, small cracks are addressed, and rough or worn spots, often around the drain, are smoothed so the base is even before any coating goes on.
Why do this first rather than coat over it? Because a coating follows the shape underneath it. A chip left unfilled shows through the finish as a dimple, and damage left unaddressed keeps spreading beneath the new surface. Repairs are what let the final finish look uniform instead of highlighting every old flaw. If a tub has more serious damage than surface repair can handle, that circles back to the inspection step and the honest answer may be repair-first or replacement rather than refinishing.
Step 4: Surface Preparation and Abrasion
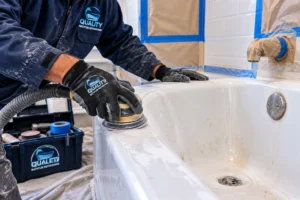
This is the stage that most determines whether the job lasts, and it is the one cheap bids cut. A brand-new coating will not stick to a smooth, glossy old surface on its own. The surface has to be prepared so the coating has something to grip, commonly through sanding, abrasion, or an etching step, with the exact method depending on the material and the coating system being used.
Think of it like painting: paint over a slick, dirty wall peels, while paint over a properly sanded and cleaned wall holds. The same logic applies here, with higher stakes, because a bathtub is wet, scrubbed, and used daily. When people ask why one refinished tub lasted a decade and another peeled in months, the answer is usually found in this step. The specific abrasion or etching approach a given company uses is part of their system.
Step 5: Masking and Protecting the Area
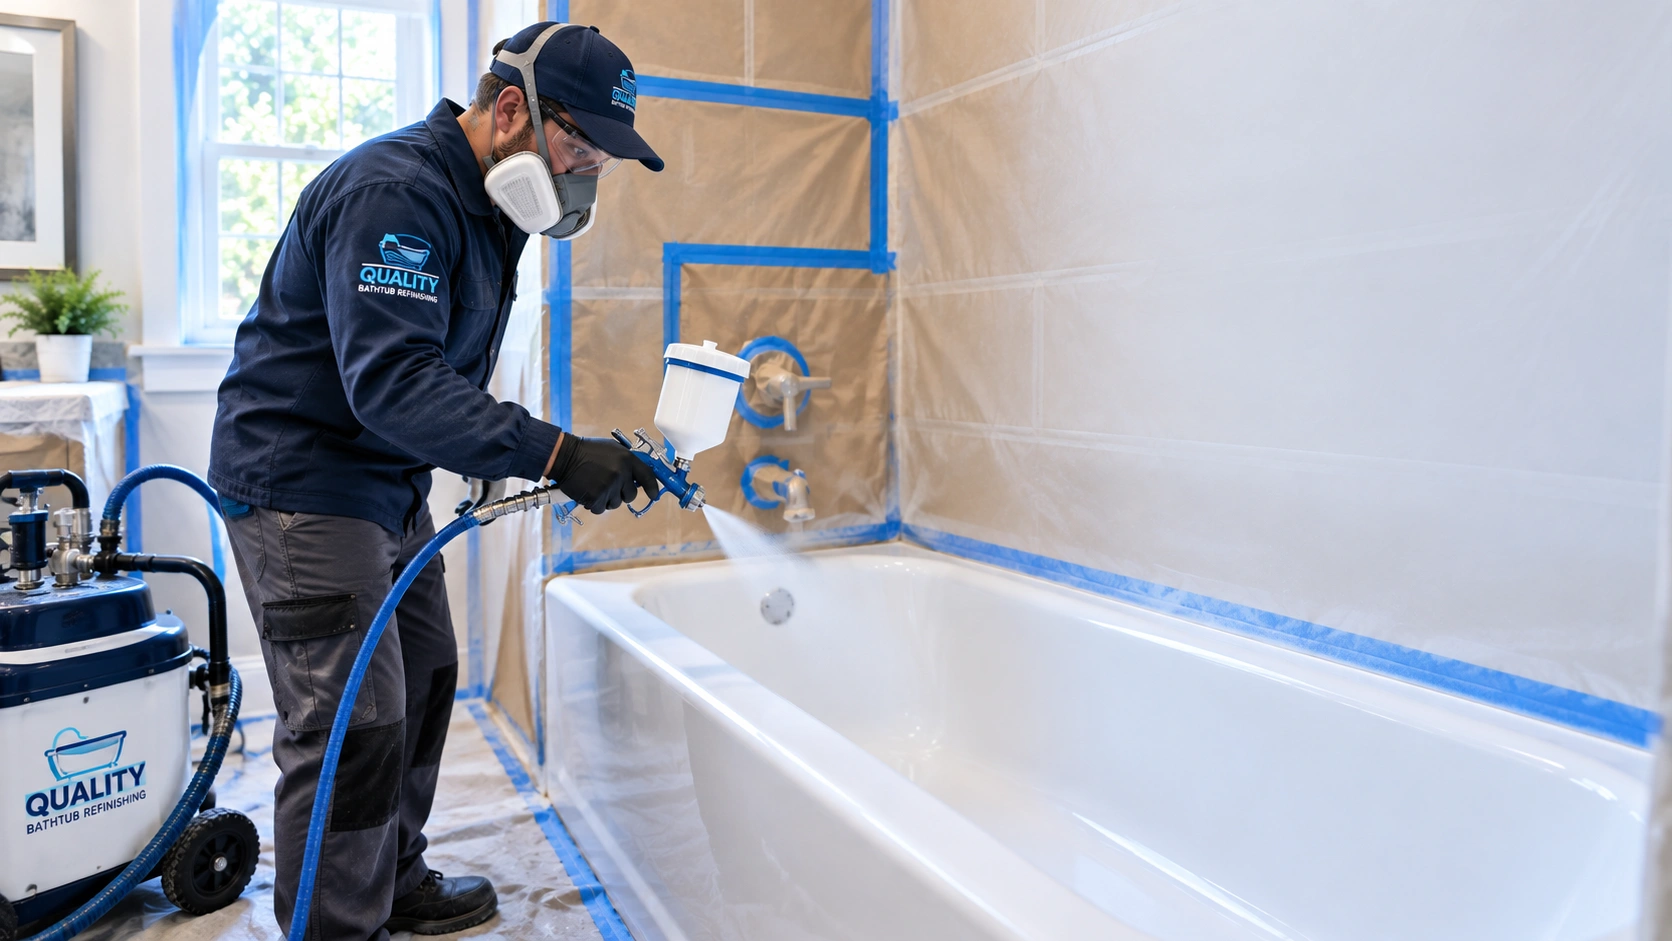
Before coating begins, the technician masks off everything that should not be coated: surrounding tile, walls, fixtures, floors, and hardware. Ventilation is also set up at this stage.
Masking is partly about a clean result, no overspray on the walls, and partly about the work itself. Coating materials are applied as a spray or in controlled layers, and overspray drifts, so containing it protects your bathroom. Ventilation matters for a different reason covered in the safety note below.
Step 6: Priming and Bonding
Many professional systems apply a bonding agent or primer before the topcoat. Its job is to create a strong link between the prepared surface and the new finish, which reduces the risk of peeling later.
Whether a separate primer is used, and which one, depends on the coating system and the tub material. This is a place where processes legitimately differ between companies, so a specific primer or bonding product is a company-and-system detail rather than a universal step.
Step 7: Applying the Coating
Now the actual finish goes on. The coating is applied in controlled layers to build an even, smooth surface. This is the step homeowners picture when they think of refinishing, and it is also the shortest part of the story relative to how much attention the earlier steps deserve.
The number of coats, the specific coating product, the working temperature, and the timing between layers all depend on the manufacturer’s instructions for the system in use, so this guide does not state a fixed coat count or product. If you are comparing companies, it is fair to ask what system they apply and what the manufacturer specifies for it.
You can usually choose the color at this stage. Standard white is the baseline, and color options let you move a dated tub to a modern shade. Quality Bathtub Refinishing offers color options, so a color change can be part of the job rather than a separate project.
Step 8: Drying and Curing
After the final coat, the finish needs time to harden, and this is where a lot of good work gets ruined by impatience. Drying and curing are not the same thing. A surface can feel dry to the touch well before it has cured enough to stand up to water, weight, and daily use. Using the tub during that window is one of the most common ways a fresh finish bubbles, wrinkles, or fails to bond fully.
For many bathtub refinishing jobs, the hands-on work is completed in about a day, and Quality Bathtub Refinishing generally advises waiting roughly 24 to 48 hours after the coating cures before using the tub. That said, the exact cure and re-entry time depends on the specific coating system and the manufacturer’s instructions, so follow the timing your refinisher gives you for the product they actually used rather than a general rule.
Step 9: Final Inspection and Walkthrough
Once the finish has set enough, the technician does a final check for an even, smooth, defect-free surface and cleans up the workspace. A good walkthrough also covers care instructions, since how you treat the tub in the first days and over the long run affects how well the finish holds.
This is a fair moment to ask questions: when exactly you can use the tub, what cleaners to use and avoid, and what the warranty covers. A company that stands behind its work will welcome them. Quality Bathtub Refinishing backs its work with a written warranty, which is worth reviewing at this stage so you know what is covered.
A Word on Safety During the Process
Because coating and any stripping steps can involve chemicals, safety is part of the process, not an afterthought. The specifics depend heavily on the products used. According to NIOSH, some paint-stripping products used in bathtub refinishing have contained methylene chloride, which has been linked to worker deaths, and NIOSH is explicit that bathroom fans or open windows do not provide adequate ventilation for it. In April 2024 the EPA finalized a rule banning most uses of methylene chloride, and OSHA maintains a specific standard for occupational exposure to it.
Two things this does not mean: it does not mean every refinishing job uses methylene chloride, and it does not mean all coating systems share the same chemistry. They do not. What it does mean is that proper ventilation, appropriate protective equipment, and following the product manufacturer’s and OSHA’s requirements are part of doing the job safely, which is one more reason the process belongs with trained professionals rather than a weekend attempt.
What Can Affect the Process and Timeline
Not every job runs the same length, and a few things stretch it:
- A tub needing extensive chip, crack, or rust repair takes longer at the repair stage than a tub that only looks dull.
- A previous coating. A tub refinished before, especially one that is peeling, needs that old finish dealt with first, which adds a step.
- Material and size. A large or specialty tub, or a harder-to-prep material, can add preparation time.
- Additional surfaces. Doing a tub plus its tile surround, a sink, or a countertop in the same visit extends the working time, though it is often more efficient than separate trips.
- Curing conditions. Curing depends on the coating system and the environment, which is why the re-entry time is guidance to confirm per product, not a fixed promise.
If you want the surrounding surfaces done at the same time, Quality Bathtub Refinishing also refinishes showers, sinks, countertops, and ceramic tile, which is a common way to refresh a whole bathroom in one process rather than several.
Why the Process Is Worth Understanding
Knowing the steps changes how you hire. Once you understand that inspection, cleaning, repair, and surface preparation are where a lasting finish is actually built, a suspiciously fast or cheap quote reads differently, because the usual way to make refinishing cheaper is to shortchange exactly those steps. The visible part, spraying the coating, is the easy part; the durability comes from the work before it.
When your tub is a sound candidate and you want the process done properly, professional bathtub refinishing handles the full sequence, from inspection through the final walkthrough, with a free estimate to start.
Frequently Asked Questions
How long does the refinishing process take?
The hands-on work is often completed in about a day. The finish then needs time to cure before use, commonly around 24 to 48 hours, though the exact time depends on the coating system, so follow your refinisher’s product-specific guidance.
Why is surface preparation such a big deal?
Because a coating only lasts if it bonds to the tub, and it can only bond to a properly cleaned and prepared surface. Skipping or rushing preparation is the most common reason refinished tubs peel or fail early.
Do all refinishers use the same process?
The general sequence is similar, inspect, clean, repair, prepare, prime, coat, cure, inspect, but the specific products, number of coats, preparation method, and cure times vary by coating system and company. Ask what system a company uses.
Can chips and cracks be fixed as part of the process?
Surface chips and small cracks are repaired during the preparation stage, before coating. Structural damage, like a crack that flexes or rust through the material, is a different problem that may call for repair-first or replacement rather than refinishing.
Why can’t I use the tub right after the coating is applied?
Because drying is not the same as curing. The surface can feel dry before it has hardened enough for water and use, and using it too early is a leading cause of bubbling, wrinkling, or peeling. Wait for the cure time your refinisher specifies.
Is the process safe to be around at home?
It depends on the products and controls used. Some stripping products have contained hazardous chemicals, and proper ventilation and protective equipment matter, which is why trained professionals with the right setup are the safe way to have it done. Ask any company about its products and ventilation.